
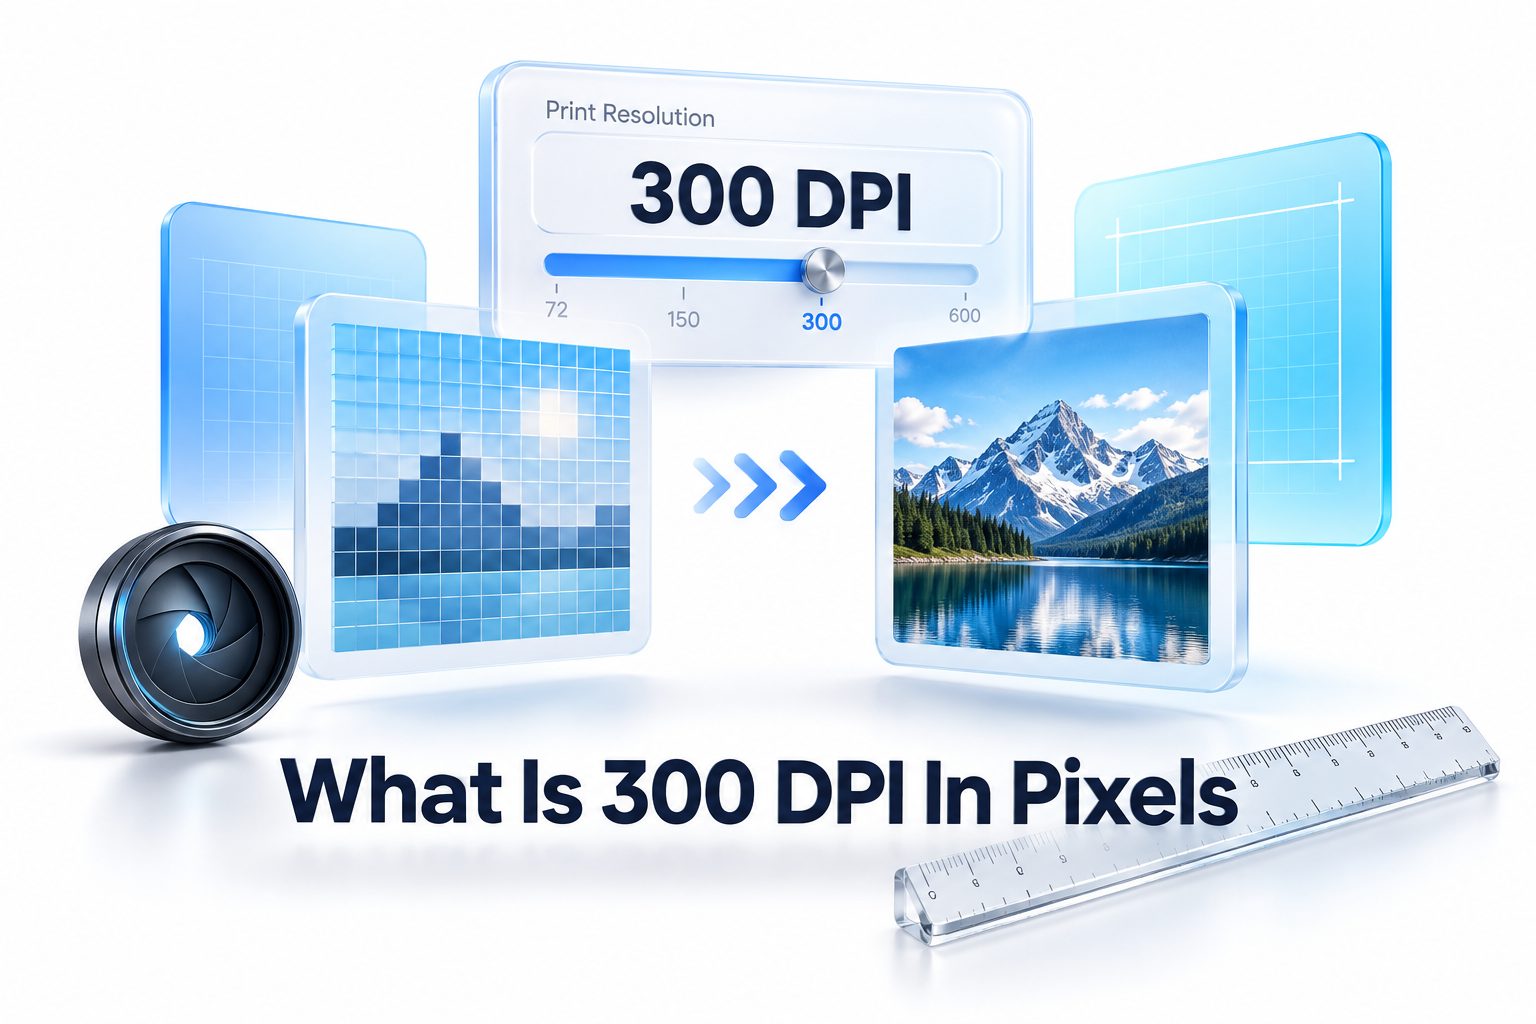
A sharp printed photo, brochure, or poster begins with the right relationship between image resolution and physical size. That relationship is often described with DPI, or dots per inch. If you are preparing artwork for print, knowing what is 300 dpi in pixels helps you avoid blurry results, pixelated text, and disappointing colors.
The answer is not one fixed pixel number. A 300 DPI image has 300 pixels for every inch of printed width and height. Therefore, the required pixel dimensions depend entirely on the final print size. A business card, an A4 flyer, and a large banner can all be 300 DPI, yet each needs different pixel measurements. This article explains the calculation, practical examples, and the mistakes worth avoiding before sending a file to print.
What 300 DPI Means for Images
DPI stands for dots per inch, a measurement commonly used in printing. It describes how many tiny dots a printer places within one inch of paper. In image preparation, people often use DPI to describe pixel density, although PPI, or pixels per inch, is technically the more accurate term.
At 300 DPI, a printer receives enough image detail to produce clean photographs, smooth gradients, and readable fine text at normal viewing distance. This standard is widely accepted for magazines, brochures, product packaging, invitations, and other close-viewed printed materials.
How Pixels Relate to Print Size
Pixels are the small colored squares that make up a digital image. They determine the amount of visual information stored in the file. Print size tells the printer how widely those pixels will be spread across paper, fabric, card stock, or another physical surface.
To calculate the required image size, multiply the desired print dimensions in inches by 300. For example, an image intended to print at 5 inches wide needs 1,500 pixels across. A 7-inch height requires 2,100 pixels vertically for the same print quality.
Essential 300 DPI Pixel Calculations
- 1 × 1 inch: 300 × 300 pixels
- 2 × 2 inches: 600 × 600 pixels
- 4 × 6 inches: 1,200 × 1,800 pixels
- 5 × 7 inches: 1,500 × 2,100 pixels
- 8 × 10 inches: 2,400 × 3,000 pixels
- 8.5 × 11 inches: 2,550 × 3,300 pixels
- 11 × 17 inches: 3,300 × 5,100 pixels
Calculating 300 DPI in Pixels
The core formula is simple: pixels equal inches multiplied by DPI. Use the formula separately for width and height. If your final print size is 8 inches by 10 inches, multiply each measurement by 300 to get 2,400 by 3,000 pixels.
For sizes measured in centimeters, convert centimeters to inches before calculating. One inch equals 2.54 centimeters. Divide the centimeter measurement by 2.54, then multiply by 300. This approach gives the required pixel dimensions for accurate print production.
Examples for Common Print Sizes
A standard 4 × 6-inch photo at 300 DPI requires 1,200 × 1,800 pixels. A square 12 × 12-inch scrapbook image needs 3,600 × 3,600 pixels. Both files meet the same resolution standard, but their total pixel counts differ significantly because their print dimensions differ.
An A4 page measures approximately 8.27 × 11.69 inches. At 300 DPI, it needs about 2,481 × 3,507 pixels. Many designers round this slightly upward, especially when a project needs bleed, cropping room, or additional flexibility during layout.
Common Print Sizes at 300 DPI
Print Size Required Pixel Dimensions
3.5 × 5 inches 1,050 × 1,500 pixels
4 × 6 inches 1,200 × 1,800 pixels
5 × 7 inches 1,500 × 2,100 pixels
8 × 8 inches 2,400 × 2,400 pixels
8 × 10 inches 2,400 × 3,000 pixels
A4 2,481 × 3,507 pixels
Letter size 2,550 × 3,300 pixels
A3 3,507 × 4,968 pixels
Why 300 DPI Is a Print Standard
A 300 DPI file usually provides enough detail for materials viewed from close range. Readers can inspect a book page, menu, postcard, or product label without seeing individual pixels. Fine image details also hold up better when the printer applies ink to paper.
The standard is practical rather than absolute. Certain high-end printing processes may request more resolution, while large outdoor signage can use much less. The best setting depends on viewing distance, printing equipment, material, and how much detail the design contains.
When Lower Resolution Can Still Work
Large-format graphics are often viewed from several feet away. A billboard, trade-show backdrop, or window display does not always need 300 DPI at final size. At greater distances, the human eye cannot distinguish the same level of fine detail seen in a handheld flyer.
For these projects, print providers may recommend 100, 150, or 200 DPI. Always check their file specifications before building the artwork. Using excessive resolution can create enormous files without noticeably improving the finished piece, making uploads and editing slower.
Signs That an Image Is Too Small
An image may look acceptable on a phone or computer screen but fail in print. Screen displays use a different pixel density and viewing context, so visual sharpness on a monitor does not guarantee enough image resolution for a larger physical output.
Check the image’s pixel dimensions before placing it in a design. If a photo is 1,200 pixels wide, it can print at 4 inches wide at 300 DPI. Printing it at 12 inches wide drops the effective resolution to 100 DPI.
Quick Resolution Checklist
- Confirm the final trim size in inches or centimeters.
- Add bleed before calculating artwork dimensions.
- Multiply both dimensions by 300 for close-viewed print jobs.
- Check image pixel dimensions instead of relying on file size.
- Review the printer’s submission specifications.
- Export a high-quality PDF or TIFF when required.
- Keep the original source file in case revisions are needed.
DPI, PPI, and File Size Differences
DPI and PPI are often used interchangeably, but they describe different stages of the process. PPI refers to the number of pixels in an image per inch. DPI refers to the printer’s dot output. In daily design work, “300 DPI” generally means preparing a file at 300 PPI.
File size, measured in kilobytes or megabytes, does not reliably indicate print quality. Compression, color depth, layers, and file format affect storage size. A large JPEG can still be too low-resolution, while a smaller PNG may contain sufficient pixels for its intended print dimensions.
How Image Dimensions Affect Quality
Pixel dimensions are the most dependable way to judge whether an image can print sharply. A 3,000 × 2,400-pixel file contains enough resolution for a 10 × 8-inch print at 300 DPI. Its actual quality also depends on focus, editing quality, and compression artifacts.
Changing the DPI number in image properties does not add detail by itself. If the pixel count stays the same, the software merely changes the printed size instruction. To create a larger high-quality print, you need more genuine image data from the camera, scanner, or original artwork.
Resizing Without Losing Important Detail
Downsizing an image is generally safe because the software removes pixels. It can be useful when a file is much larger than necessary for a project. Keep a copy of the original before reducing dimensions, especially if the image may be used later for another size.
Upscaling adds pixels through interpolation, but it cannot restore detail that was never captured. Modern editing tools can improve the appearance of enlarged images, yet results vary. Faces, small lettering, intricate textures, and product details may still look soft after aggressive enlargement.
Preparing Photos for 300 DPI Printing
Start with the highest-quality source image available. Photos from modern cameras often contain enough pixels for standard prints, while images saved from social media, messaging apps, or websites may be heavily compressed. Downloading a larger copy is usually better than trying to enlarge a small version.
Crop thoughtfully before checking the final dimensions. A crop changes the aspect ratio and removes pixels, which can reduce the printable size. For example, a wide landscape image may need trimming to fit a portrait poster, leaving fewer pixels than the original file contained.
Color Settings and Print Output
Resolution alone cannot guarantee a professional result. Print colors behave differently from screen colors because screens emit light while paper reflects it. Your printer may request CMYK files, although many modern print workflows accept RGB files and convert them automatically using their own color profiles.
Ask your print provider which color profile, file format, and bleed setting they prefer. Their instructions should take priority over general advice. For marketing materials, review a printed proof when possible, particularly when brand colors, skin tones, or product shades must remain consistent.
Practical Tips Before Sending a File to Print
- Use original images whenever possible.
- Set the final physical dimensions before judging resolution.
- Include bleed for edge-to-edge designs.
- Keep logos and text as vector graphics when available.
- Avoid screenshots for printed marketing materials.
- Inspect photos at 100 percent zoom for visible softness.
- Request a proof for important or high-volume orders.
Using 300 DPI for Different Projects
Business cards need high resolution because viewers hold them close and small type needs to remain crisp. A standard 3.5 × 2-inch card requires 1,050 × 600 pixels at trim size, before adding bleed. However, vector-based text and logos are still preferable for sharp edges.
Posters need more context. A small poster viewed nearby benefits from 300 DPI, while a large poster viewed across a room may not. Consider where the display will be installed and how close people will stand before choosing a final image resolution.
Social Media Images and Print Files
A social media graphic should not automatically be reused for print. It may have the right visual design but insufficient pixel dimensions. For example, an Instagram post measuring 1,080 × 1,080 pixels prints at only 3.6 × 3.6 inches at 300 DPI.
Build separate exports for online and printed use when the project supports both. This protects image quality and lets you tailor color, dimensions, and file format to each destination. See [Internal Link: image resolution for print] for more guidance on planning files across formats.
Avoiding Cropping and Bleed Problems
Bleed is extra image area that extends beyond the final trimmed edge. It prevents thin white borders if cutting shifts slightly during production. A common requirement is 0.125 inches of bleed on every side, though printers may use different measurements.
For an 8 × 10-inch print with 0.125-inch bleed, the full artwork becomes 8.25 × 10.25 inches. At 300 DPI, that requires 2,475 × 3,075 pixels. This extra calculation is easy to miss and can affect backgrounds or full-page photographs.
Working With Design Software
Most design applications let you set document dimensions and resolution when creating a new file. Enter the final size, choose 300 PPI for close-viewed print work, and add bleed according to your printer’s requirements. The software will calculate the pixel dimensions automatically.
When placing photos into a layout, review their effective resolution rather than only their original dimensions. A large photo may be scaled up inside the document, reducing its effective PPI. Layout software often flags images that fall below the recommended resolution threshold.
Image Quality Facts Worth Remembering
A 300 DPI image is not automatically better if it prints very small. A 600 × 600-pixel image is excellent for a 2-inch square print at 300 DPI, but it will not deliver the same quality on an 8-inch square page.
Likewise, an image with plenty of pixels can still look poor if it is blurry, badly lit, over-sharpened, or compressed repeatedly. Resolution measures available detail, while visual quality depends on the source image and the care used during editing and export.
Choosing the Right File Format
PDF is often the best choice for finished print layouts because it can preserve vectors, text, images, and page settings. TIFF is useful for high-quality raster images, while PNG works well for graphics that need transparency. JPEG remains suitable for many photos when saved at high quality.
Avoid repeatedly opening and saving JPEG files during editing. Each save can apply more compression and gradually damage fine details. Keep a layered master file, such as PSD or an editable design document, then export a final print-ready copy only when needed.
Conclusion
Print quality becomes much easier to manage once you separate image pixels from physical paper size. The same source image can look sharp on a postcard and soft on a poster because its pixels are spread across a different area. Calculate the dimensions before designing, account for bleed, and use the printer’s specifications as the final reference.
For most brochures, photographs, cards, and documents viewed at close range, 300 DPI remains a dependable target. It gives printers enough detail to reproduce images and text cleanly without creating unnecessarily heavy files. If you remember only one principle, let it be this: what is 300 dpi in pixels depends on the intended width and height of the final print. A quick calculation before export can prevent expensive reprints and ensure your design looks as polished on paper as it does on screen.
Frequently Asked Questions
What size is 300 DPI in pixels?
There is no single pixel size for 300 DPI. Multiply the print width and height in inches by 300. A 4 × 6-inch print needs 1,200 × 1,800 pixels, while larger prints need more pixels.
Is 300 DPI the same as 300 PPI?
They are often used interchangeably in design conversations. Technically, PPI measures image pixels and DPI measures printer dots. When a printer requests 300 DPI artwork, it typically expects images prepared at 300 PPI.
How many pixels are needed for an A4 page at 300 DPI?
An A4 page requires approximately 2,481 × 3,507 pixels at 300 DPI. Add extra pixels if the artwork includes bleed. Confirm the exact bleed measurement and file requirements with the print provider before exporting.
Can I convert a low-resolution image to 300 DPI?
You can change the DPI setting, but that does not create new image detail. Enlarging through software may improve appearance slightly, but it cannot fully replace a high-resolution original image captured or created at adequate dimensions.
Is 72 DPI acceptable for printing?
A 72 DPI image may work for small, simple prints, but it is usually too low for professional close-viewed materials. It is better suited to older screen-based workflows than brochures, photographs, labels, or detailed promotional print pieces.
0 Comments